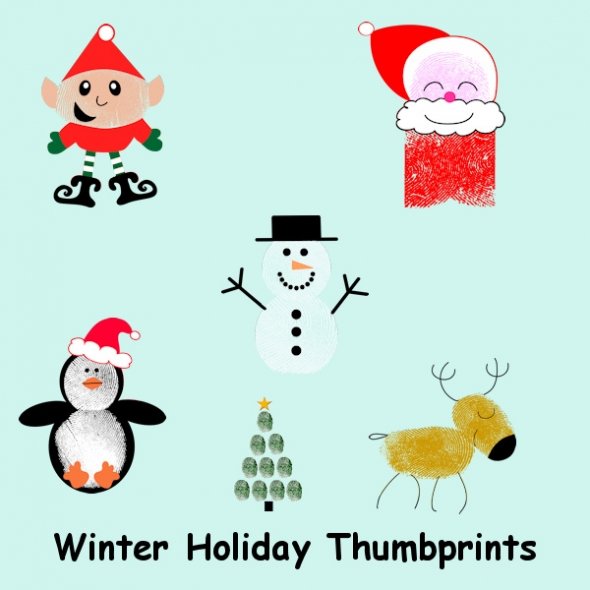
We enjoy kids to make their very own holiday cards to give to the special people in their lives. A homemade card adds that extra special personal touch. What’s more personal than a thumbprint?
You can create adorable cards that start with just a thumbprint, then turn them into a work of art!
Below are just a few of the characters you can create! Send a card to someone special or include one in a gift basket for any occasion or none at all!

How to Create a Thumbprint Design

Think Ahead – Is your design going to be in front of something? For example, if you’re going to have a teacher in front of a blackboard, you’ll want to put your blackboard in place first. You can do this by painting the scene, drawing with markers, or using construction paper to make your background.
Thumbprint Materials – An ink pad gives a clear and defined thumbprint and dries almost instantly, but finger paints and even acrylic paints can be used. If you’re using paints, dab a little on a piece of card stock. Rub your finger around and make sure it is just lightly coated – too much paint will create globs. Wash fingers before using another color, and let the thumbprint dry before adding accents. Of course fingers can be used too – depending on the size and shape of the print you want.
Accents – Once your thumbprint is ready, use fine-tip markers to create accents. Get creative! Use glitter, construction paper, puffy paints and googly eyes to really make your design pop! Make borders by dotting your fingertip around the perimeter of the card.
Greeting Cards – If you plan on making greeting cards with your designs, and want to print the wording on the cards with your printer, it’s best to do this before making your thumbprint creation so nothing gets smeared.
From


